

Hard to believe that it's been almost a year since I last posted anything on this blog. It's not that we haven't been tending to The Cool House rather that social media has changed a lot about the way I document my life and that goes for the house too. I'm more likely to take a thousand word snap of something we've done and post it right there to Facebook or twitter. One click and I've saved all that tedious typing. You could say instagram killed this blog.

But it would be unfair to ask you to search through all the hundreds of photos of sunsets and kittens to find one that shows the renovated pool, or the color we ended up with in the sitting room after several, expensive redoes. So, here, in no particular order, are the projects we undertook in the first ten months of 2014.

Pool renovation: all the pipes, skimmers and reruns were replaced. This job entailed digging up and replacing half the brick patio but it mbas meant no more leaks. Also the pool light works again and we have a new, quieter energy saving pump. The pool housing is screened off with a nicer replacement for the termite eaten fence and next Spring a gas heater will be installed.

We lost a couple of trees and big rhododendrons to last year's severe winter, which Neal the Landscaper said was an opportunity, especially as the pool guys had to rip through the shrubbery to lay new pipes so hey presto one May weekend we got a new awesome shrubbery. well, almost new, The Guy insisted on keeping a dog wood because it looks spectacular from the master window for one week in May. It will probably come crashing down this winter!

The kitchen patio, front path and steps were re-grouted and broken bluestone slabs were replaced. We also installed four Marvin windows in the den, downstairs bath and basement where the rot or weather had damaged them beyond repair.

While all that was going on we started the BIG PAINT JOB, which kept getting bigger as we progressed form room to room. I'd taken three months to narrow down the fifty odd shades of gray and gold to half a dozen. We used Benjamin Moore Aura paint on all the walls and baseboards, which has no off gases and dries to a tough knock resist finish; the painters replaced moldings as needed. Eventually after much trial and error, we chose Collingwood for the kitchen and second and fourth bedrooms, Moonshine for the great room, stairs, hall and balcony and one bath, Camouflage for the third bedroom & the den. My office ended up Golden Tan, the third bedroom Buena Vista Gold, the laundry Metropolitan and we matched the original dusky pink tiles in the downstairs bath to Peau de Soie. The painters took advantage of the cool, dry summer and stained the house Mission Brown, with doors in Marvin Bronze to match the windows.

Last but certainly most significantly, we converted from oil to gas. This was prompted when our oil guy telling us he couldn't keep the monster burner going much longer coincided with an oil bill that cost more than our first new car. I won't bore you with the details of the 6 month saga of no heat or no hot water, repairs, work-arounds and crossing our fingers it took to get us to October 8 when National Grid finally turned the gas on. It's also not the prettiest project, and it took one guy an entire 8AM-4PM day to get the monster out of the basement but it did finally get done. We worried about an ugly gas meter outside our beautiful house but we managed to hide it behind an estate rhododendron. Can you see it in the photo above? No? Neither can anyone else! More importantly we can take showers without screaming and the air coming out of the vents is toasty so it's probably the project that impacts our comfort level the most.


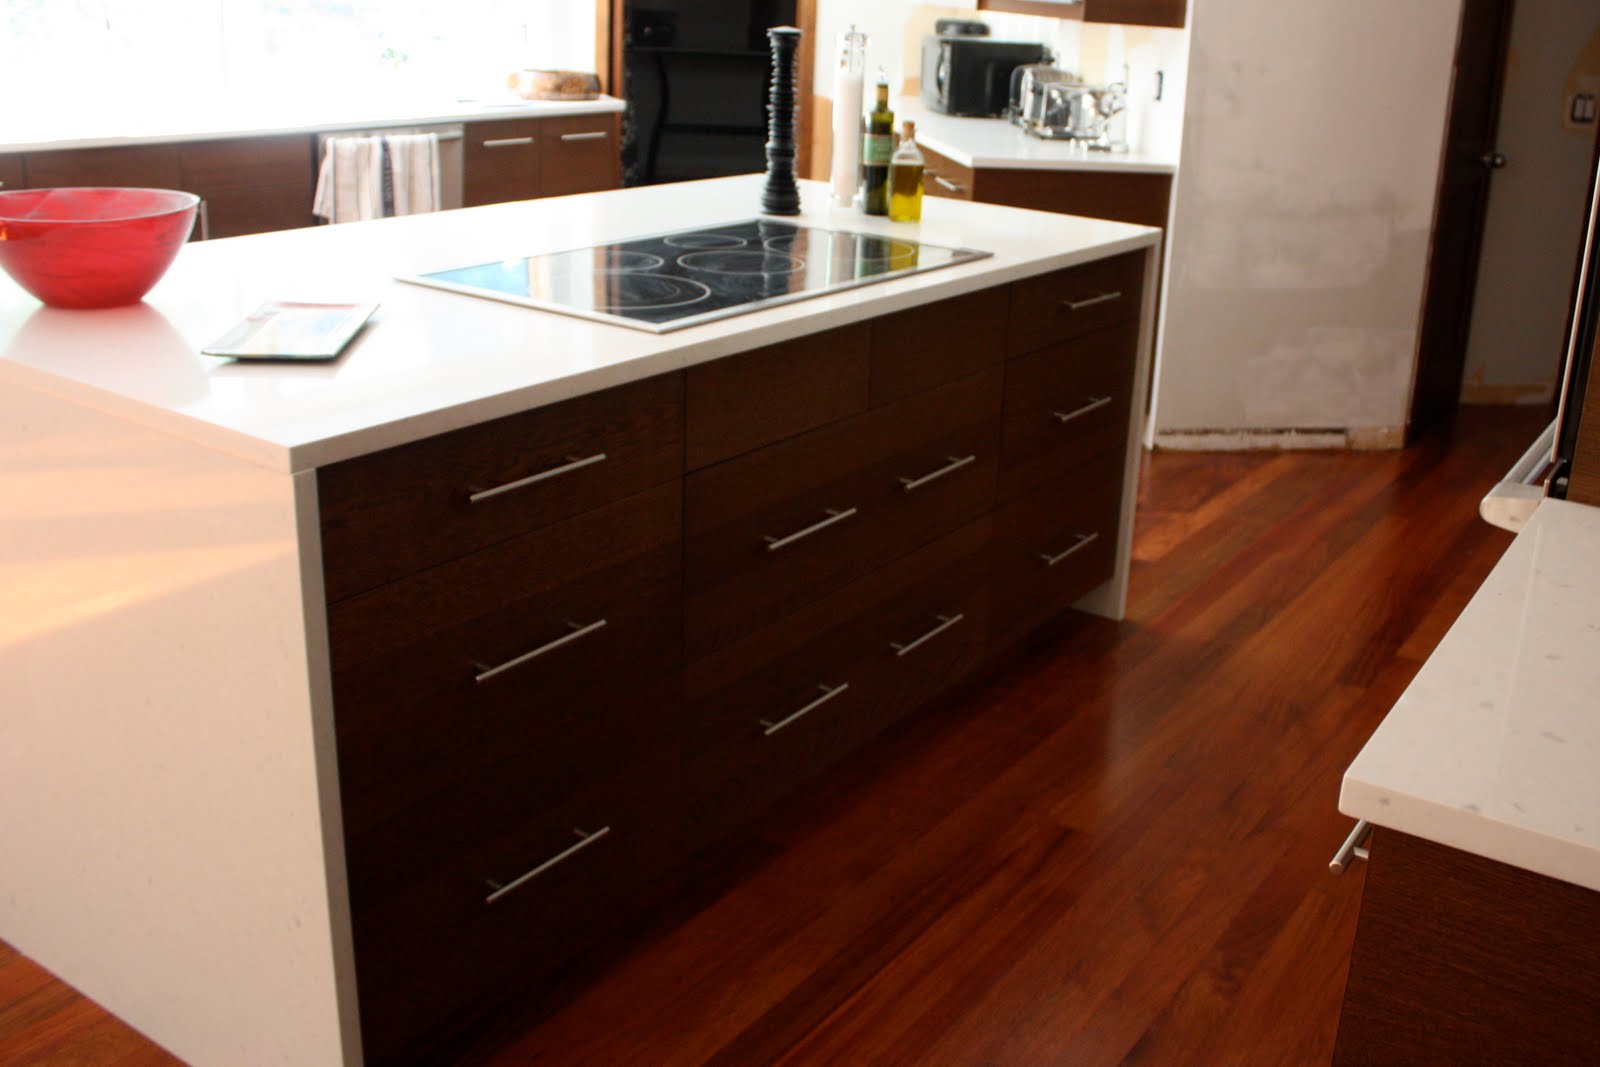
 image by Caesarstone
 image by Caesarstone
 new kitchen window